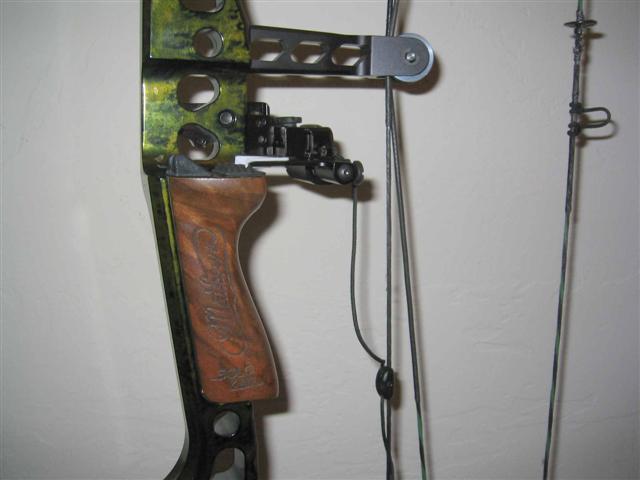
The rest I set up today was the Sims Vibration Lab Fall-Away. I just followed instructions which were not very detailed so I set the rest up as I do most all drop rest. I found that the lift coupling (used for cable slide attachment) needed to be adjusted slightly to allow the rest to drop without hitting the coupling to the rest body. I recommend for FOBs using the down bus cable and attach the pull cord about level with the bottom of the handle/grip.
After adjusting the upward lift (required out of the box) and center shot I set the timing so the rest came to FULL UP about 1 inch before full draw. This allows a small amount of "creep" without the rest moving. A good thing if you have to hold back a minute or so waiting for the critter to take another step. This way if you get a small amount of creep, your elevation of the rest will not change.
I used the Sims pad on the riser on this set up. I have mixed feeling about rubber and rests (bounce up). I now recommend using the felt side of 1/2 wide peel and stick black velcro. Works great and no bounce.
I have included a photo of an old trick I learned years ago to set the center shot. As you can see by the photo, I have one arrow nocked with the rest in the up position. Then a place a second arrow flat against the vertical part of the riser. Both arrows should be parallel. This is a good place to start and is an easy "in the field check".
The rest took all of about ten minutes to set up and shot great! I had plenty of clearance at both the rubber arrow guide and over the rest.
Paul MorrisPull Cord Attachment
[img]
[/img][img]
Center Shot Adjustment

[/img]
Elevation Adjustment (YOU WILL NEED TO ADJUST THIS OUT OF THE BOX)
[img]

[/img]
Clearance over arrow guide (plenty)
[img]

[/img]


 Calendar

